


Most business owners would agree that social media marketing is an important and effective form of advertising, however many business owners are not aware of all of the tools and resources available to create a custom audience for their ads.
Facebook is one of the most popular platforms when it comes to social media advertising because it offers such comprehensive targeting tools. One of those tools is the ability to upload your own custom audience list from your Customer Relationship Manager, or CRM. If you have a list of customers that haven’t been in your place of business for a while and you want to send them a targeted ad as a reminder to come see you soon, creating a custom audience list is the perfect way to do that.
There are actually two ways in which you can create a custom audience. Regardless of which way that you choose to create the custom audience, you need to first make sure that you have a list of customers that contains email addresses or phone numbers. Then make sure that your list is saved as either a CSV or TXT file.
Creating a Custom Audience Through Business Manager:
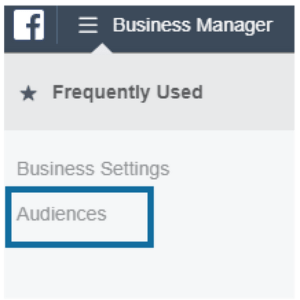
1. Log into Business Manager
2. Click on Audiences (Underneath Business Manager Button in the upper left corner)


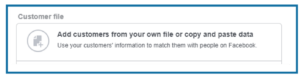
5. Click “Add Customers From Your Own File or Copy and Paste Data”

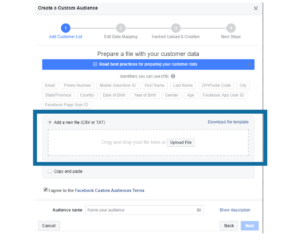

8. Once the upload is complete, you can create a Facebook Ad that is specific for that audience
OR
Creating a Custom Audience Through Ads Manager:
1. Log into your Ads Manager and begin creating your Facebook Ad
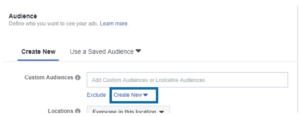

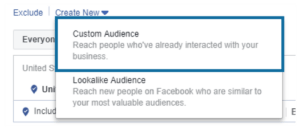
2. When you reach the audience section, under Custom Audiences click the Create New Tab and then click Custom Audiences

4. Click “Add Customers From Your Own File or Copy and Paste Data”

5. In the pop-up window, upload the CSV or TXT customer file that you previously saved
7. Once the upload is complete, you can continue creating your Facebook Ad for that target audience